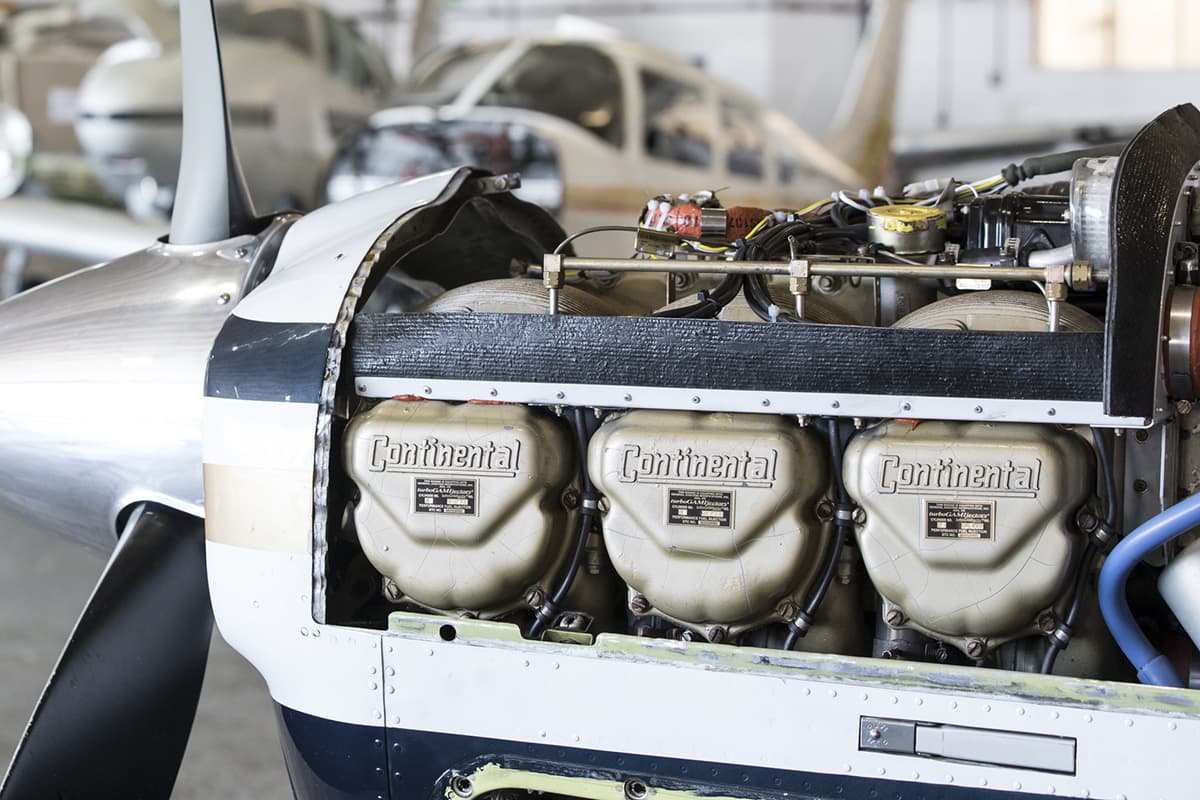
We have a passion for Lycoming and Teledyne Continental piston engines
Our team of talented engineers, led by Chris Regent have an almost unrivalled knowldege of the ins, outs and foibles of Lycoming, Teledyne and Continental piston engines, breathing new life into the heart of your light aircraft or helicopter.
Based out of our three extensively equipped workshops, in Oxford (UK) we have the ability to control all aspects of piston engine overhaul/repair, accepting Lycoming and Teledyne continental engines from across Europe and the world.
Our Lycoming and Continental Aerospace Technologies (CAT) engine overhauls and repairs capability includes:
- check_circle Lycoming and Continental Aerospace Technologies (CAT) engine overhauls and repairs.
- check_circle State of the art, fully digitalised on site engine test facility.
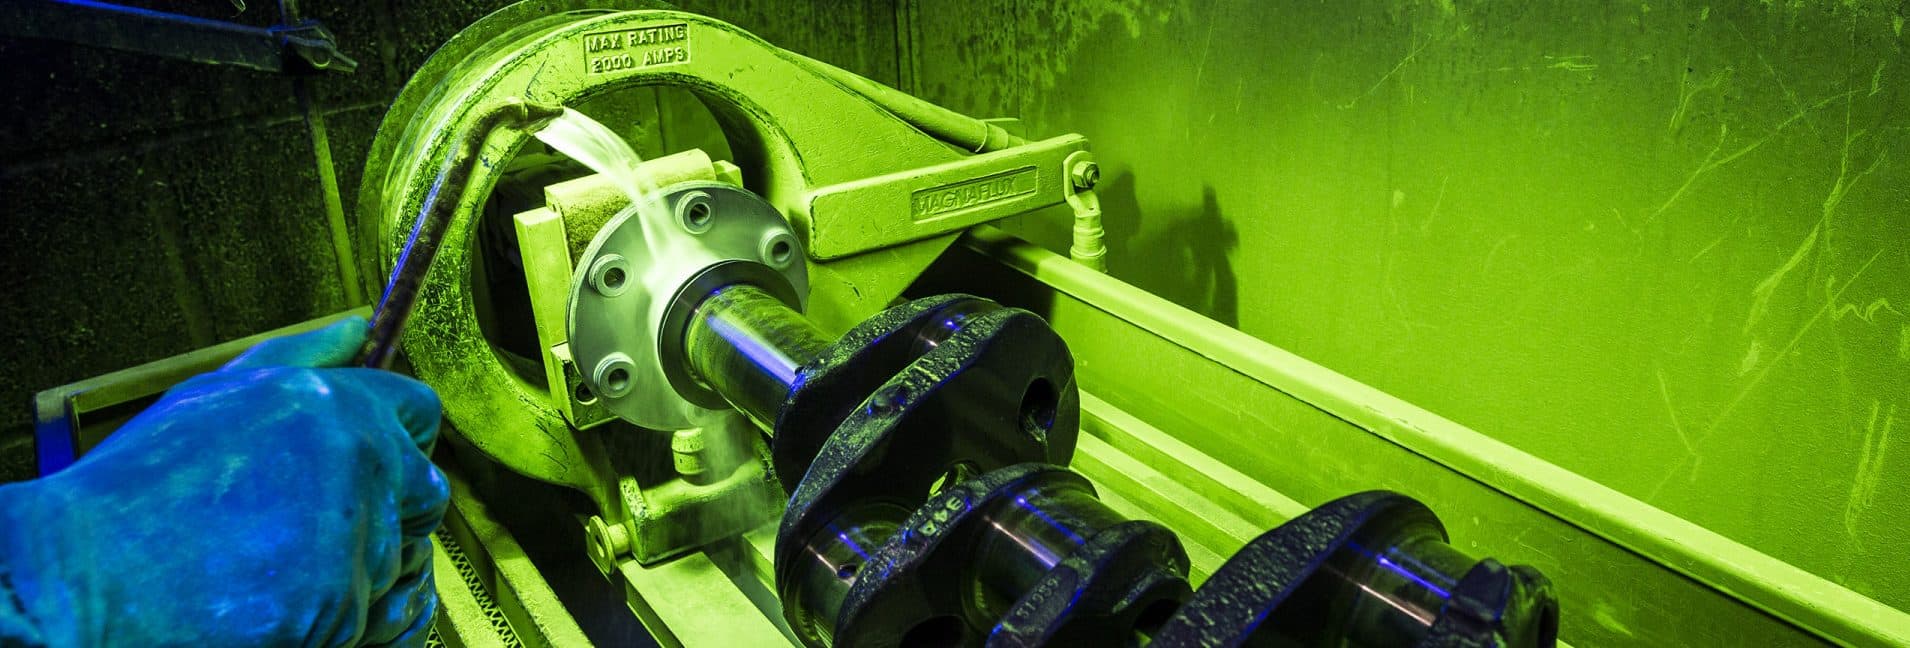
- check_circle Full D1 test house NDT facility for Ultrasonic inspection, Magnetic particle inspection and Liquid penetrant inspection
- check_circle Factory trained personnel to carry out ultrasonic inspection of all Continental crankshafts I.A.W FAA AD97-26-17.
- check_circle Complete engine fuel system servicing
- check_circle Servicing of all Bendix and Slick magneto models
- check_circle Overhaul and inspection of all aircraft cabin heater models
- check_circle Overhaul and repair of all engine cylinder assemblies
- check_circle Welding approval covering aluminium, carbon steels and corrosion and heat resisting steel
For more information please arrange a call with one of our team.
phoneArrange a call
Maintaining your Lycoming piston engine after a period of inactivity
We talk to Chris Regent, the Engineering Manager, at our piston engines maintenance capability in Oxford, UK.
“Simply ground running an engine, even for an extended period, can be more damaging than not doing anything. This is because all the acids and corrosive compounds which are generated from the combustion cycle, which contaminate the oil, are not properly expelled from the engine unless the A/C is flown. This is due to the crankcase breather system not functioning correctly with the aircraft on the ground, and also that it is hard to achieve the correct operating temperatures and load on the engine, whilst still on the ground.
With the above in mind, there are two main options that a Lycoming engine owner really has, they are as follows;
1) As per stated in Lycoming SL180B, if the A/C is not flown for 1 continuous hour, over a 30 day period, then you must follow the below procedure for “Inactive aircraft”
2) If it is known that an aircraft is to remain inactive for 30 or more days, the following procedure should be applied to the engine, especially if the aircraft is located near salt water or similar humid environment.
Install a preservative by the following methods:
a. Drain the lubricating oil from the sump or system and replace with a preservative oil mixture. This preservation mixture consists of one part by volume MIL-C-6529C Type I concentrated preservative compound added to three parts by volume of MIL-L-6082C (SAE J1966), Grade 1100, mineral aircraft engine oil or oil conforming to MIL-C-6529C Type II. Follow carefully the manufacturer’s instructions before use. We have available Castrol Brayco 481 and Aeroshell straight mineral oil. So can supply if required?
b. Operate the engine until normal temperatures are obtained.
c. Do not stop engine until oil temperature has attained 180°F (82°C). If weather conditions are below freezing, oil temperature should reach at least 165°F (73°C) before shut down.
d. Remove sufficient cowling to gain access to the top spark plugs and remove them.
e. Through the spark plug hole, spray the interior of each cylinder with approximately two ounces of the preservative oil mixture using an airless spray gun (Spraying Systems Co., Gunjet Model 24A-8395 or equivalent). In the event an airless spray gun is not available, a moisture trap may be installed in the air line of a conventional spray gun. We have an inhibiting gun available for loan if required.
f. Install dehydrator plugs, in place of the top spark plug. We have stock of these plugs if required.
g. Blank all open orifices i.e intake, exhaust and breather.
h. Attach label with date of inhibiting and instruction not to turn”
Obviously this requires care and we are more than happy to assist owners or their maintenance company with advice, consumables or to undertake the work.”
Robinson Helicopter NDT capability
We specialise in fixed wing and rotary wing piston engine maintenance, but in particular, we are very well geared up for Rotary wing engine maintenance. We have vast experience in the helicopter market area, and many of our engine maintenance inputs are tailored specifically for these applications. We have developed bespoke offerings to suit all models of engines which power all the leading piston engine helicopters in the world.
Something which we have developed, in response to rotary market demand, is our bespoke one stop shop for all Robinson Helicopter related airframe NDT requirements. Whether it be landing gear components, fuselage frames or any other part of the helicopter, we have the capability to assist.
For more information please arrange a call with one of our team.
phoneArrange a call
Our ten step process to servicing your piston engine
We’ll take you through what happens when we service your piston engine with our 10 step guide.
We are proud to put our name on your engine when it leaves our facility. See the lengths we go to to ensure your engine is delivered back to you in the best possible condition.
1) Your engine arrives
We offer a free pick up and return of your engine on all full engine overhaul programs. (UK only*).
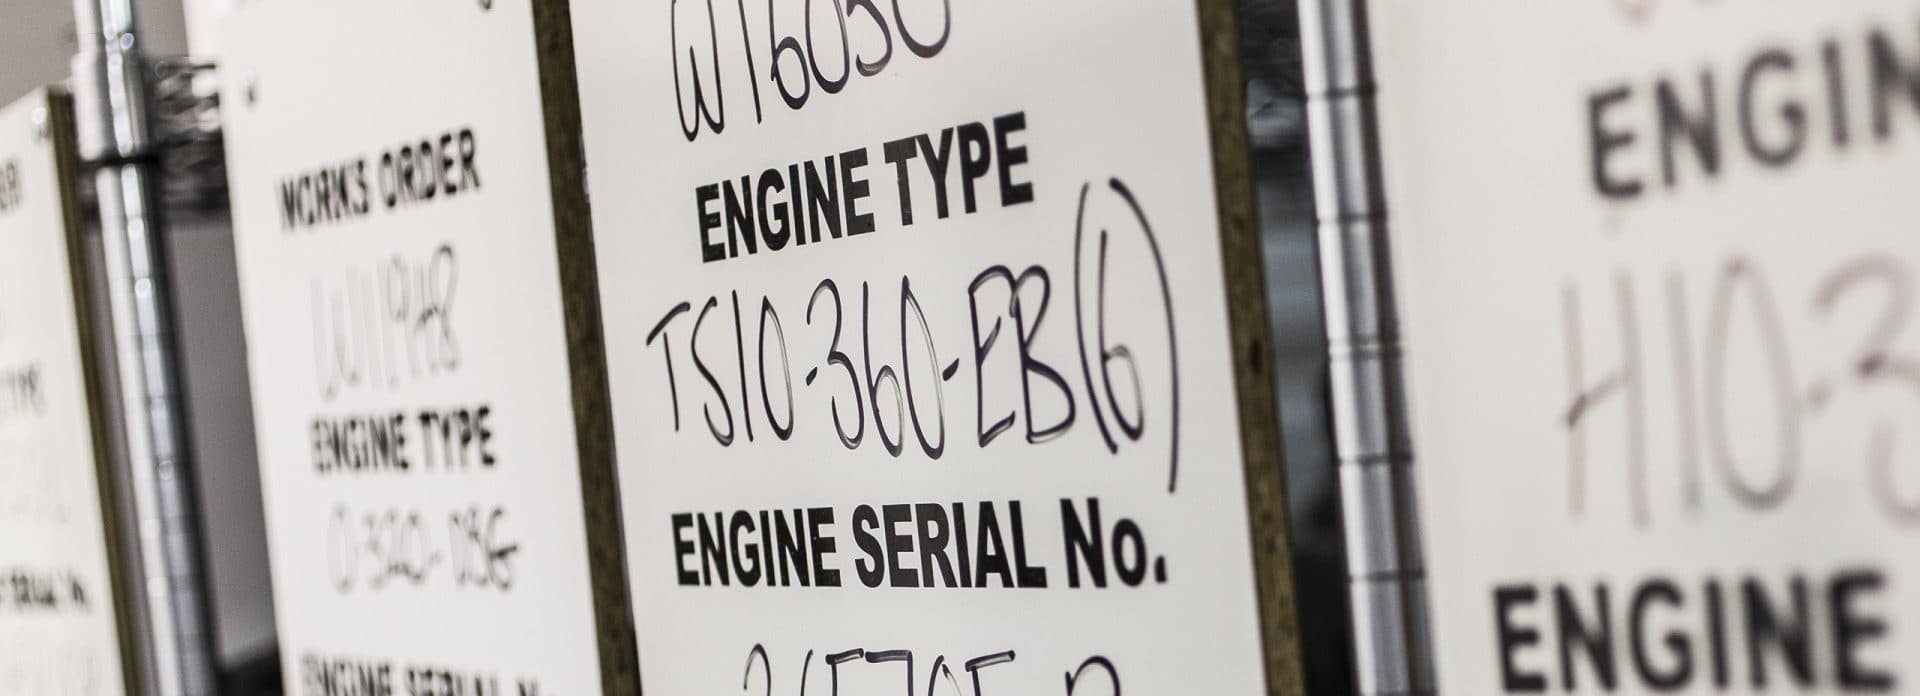
We cross check your engine, the serial number, engine type to ensure it is correct to the expected engine.
• Physical and visual assessment of engine condition.
• Assessment & confirmation of required scope of work.
• Your engine is booked on to our MRO booking system to ensure documentation and work process integrity and traceability.
• Works order generated and work pack issued to qualified engineer.
• Unique tracking number allocated to monitor your engine through the entire overhaul lifecycle.
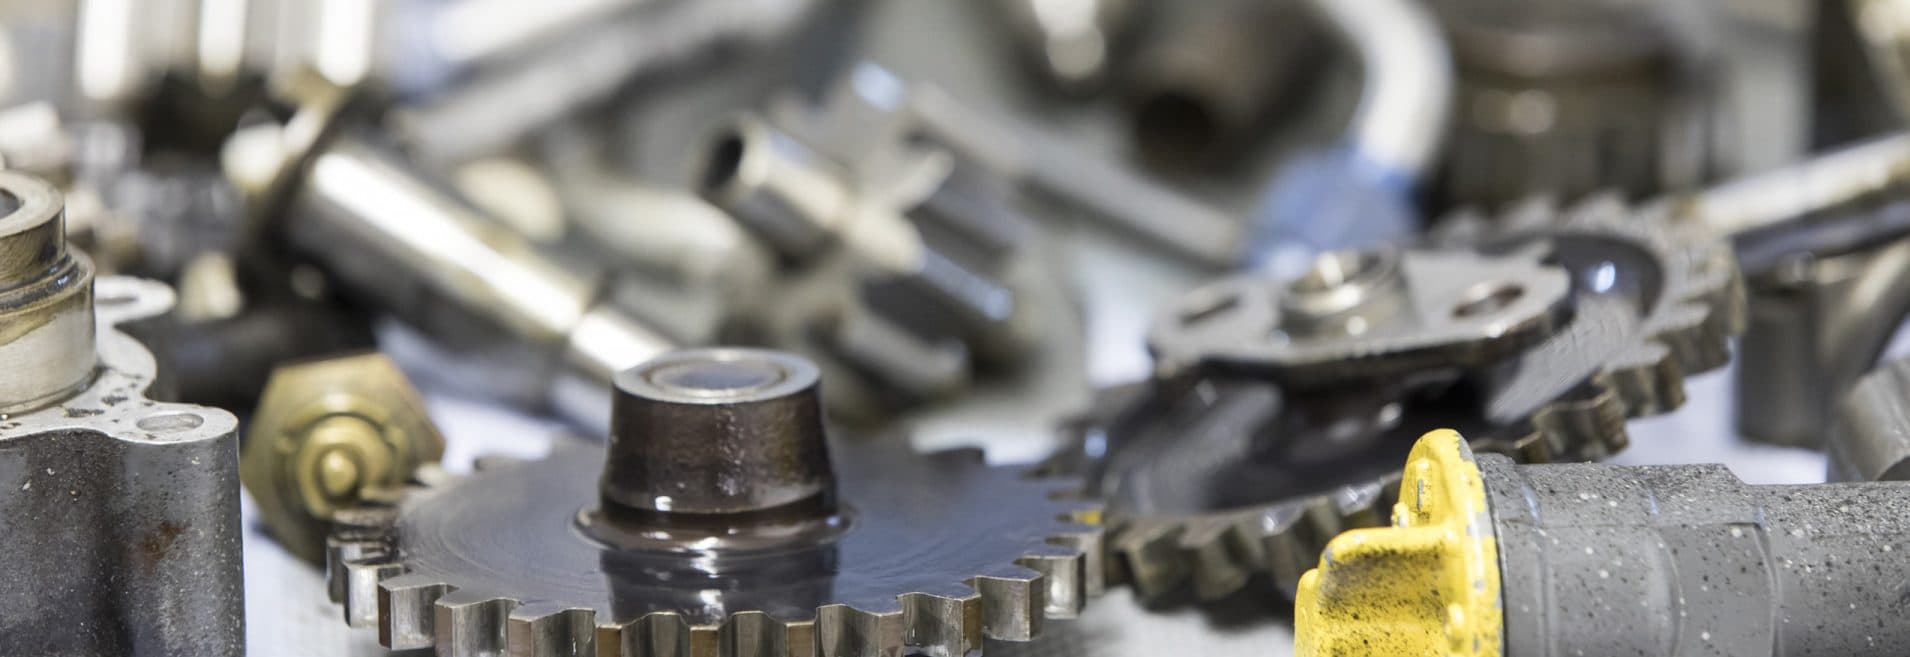
2) Diassembly
After the initial preliminary inspection and scope of work assessment we commence the disassembly of the engine.
• Inventory and photographs of the engine are taken
• List all major parts and components
• Engine is striped down to nut and bolt level
• Allocated, unique and individual engine storage rack for all parts of each particular engine is created.
• All parts are laid out in storage for preparation for individual inspection.
• Methodical, component level breakdown to allow inspection to commence.

3) Visual Inspection
We now commence the primary visual inspection of all the unique, individual parts of the disassembled components.
• Detailed visual inspection of all internal components.
• Asses the general condition of the components and identify any obvious defects.
• Log in to the workpack, any identified defects or components for further inspection.
• Confirm the full scope of work for your engine.
• This visual inspection is undertaken by experienced and qualified engineers.
4) Cleaning the main engine components
• All components are de-greased, de-carbonised, paint striped and cleaned to allow for further detailed inspection.
• All surface corrosion is removed from the components.
• Inspection of the cleaned, bare metal components.
• Items that require plating or other external finishing are identified and the surfaces are prepped to the appropriate level for the finishing process.
5) Non-destructive testing
All components that require Non Destructive Testing “NDT” are prepared, including…
• All alloy components for liquid penetrant testing.
• All non ferrous components are prepared for magnetic particle inspection.
• Results are recorded in official work pack documentation.
• The NDT testing is carried out by a dedicated engineer to approved national standards.
• Items that require plating or other external finishing are identified and the surfaces are prepped to the appropriate level for the finishing process.
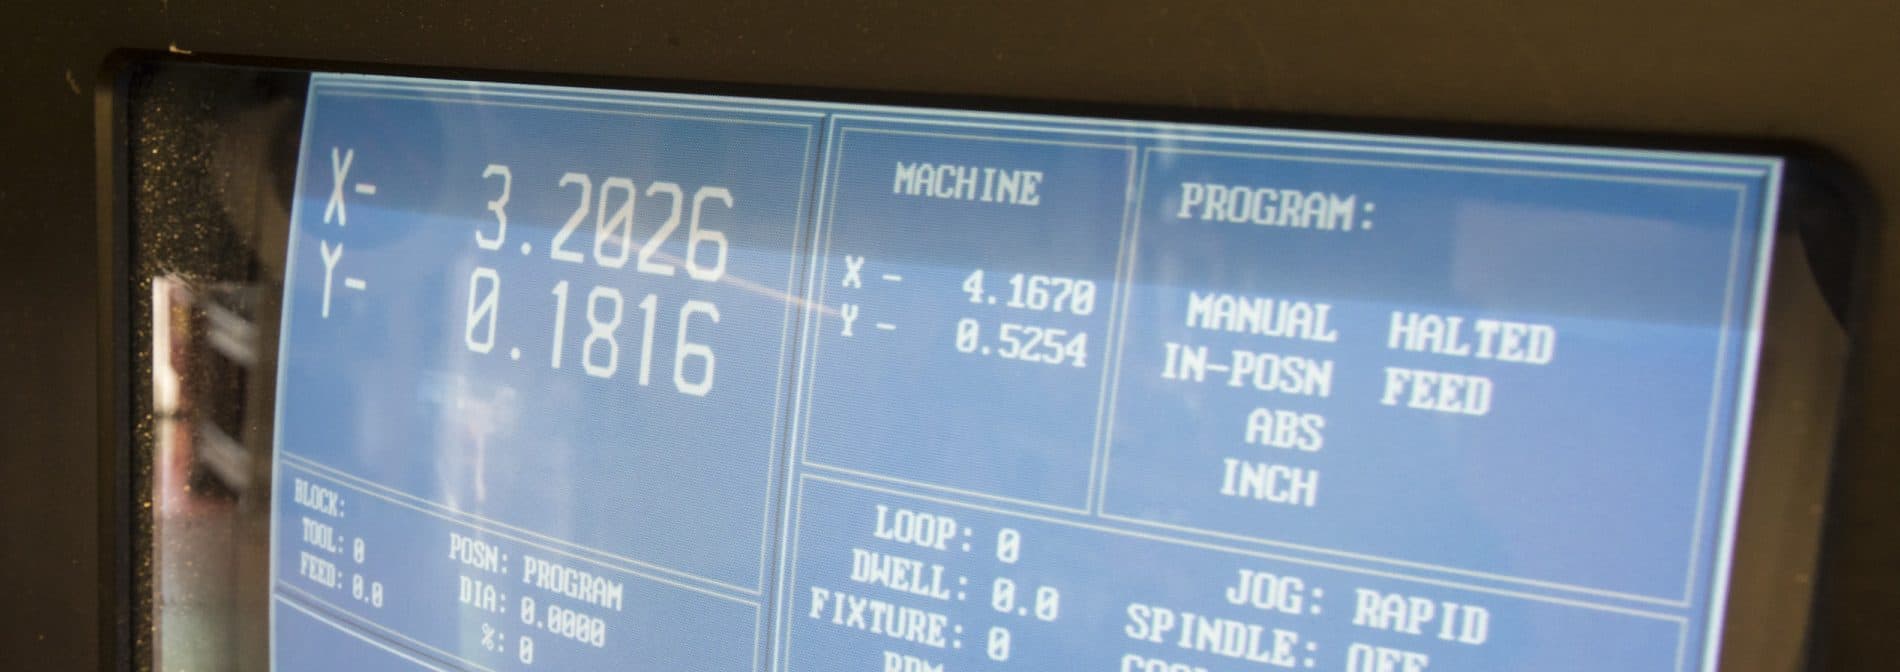
6) Detailed dimensional testing
To ensure the accuracy and precision of all existing components we…
• Measure all internal components and inspect with our calibrated inspection equipment.
• All measurements are compared with OEM detailed specification and aligned to new part limits.
• If a part fails or further assessment is required, we established if the part can be repaired or if a new replacement part is necessary.
• Any replacement part is OEM certified.
• All components are confirmed to ensure performance reliability and service life of the engine.
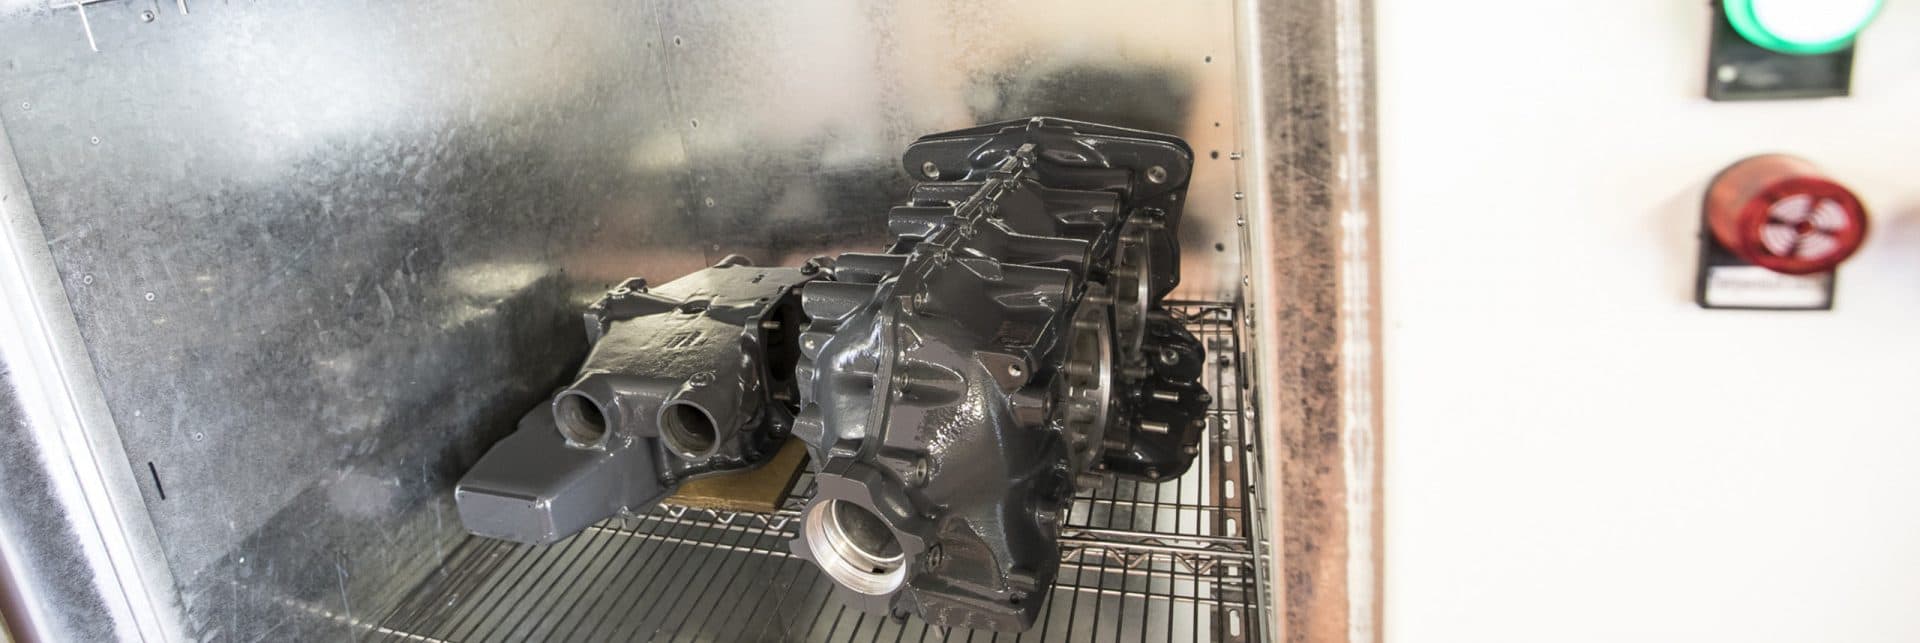
7) Painting and plating, component preparation for final part inspection
Components that require repair or reworking are prepped for rework or replaced.
All individual parts are…
• Returned from outsourced finishing (plating)
• Painted individually (pre-assembly) to ensure the best level of finish and appearance.
• We then undertake a final visual inspection.
• All components now available for full engine re-assembly.

8) Re-assemble
The whole re-assembly of your engine is carried out by one, engineer, highly experienced and qualified for that engine type. Every re-assembly is also verified by a second engineer to ensure quality and accuracy of every stage.
• All re-assembly processes are carried out with all required manual data, all the data we use is “live data” in accordance to OEM specifications.
• We inspect all running tolerance, back lashes and clearances throughout the process.
• All seals, gaskets, O rings and all mandatory parts are replaced with new genuine OEM certified parts.
• The engineer on your engine will adhere to all work pack tasks and update all documentational procedures.
• Re-assembly is completed, final initial checks are completed and then the engine is signed off.

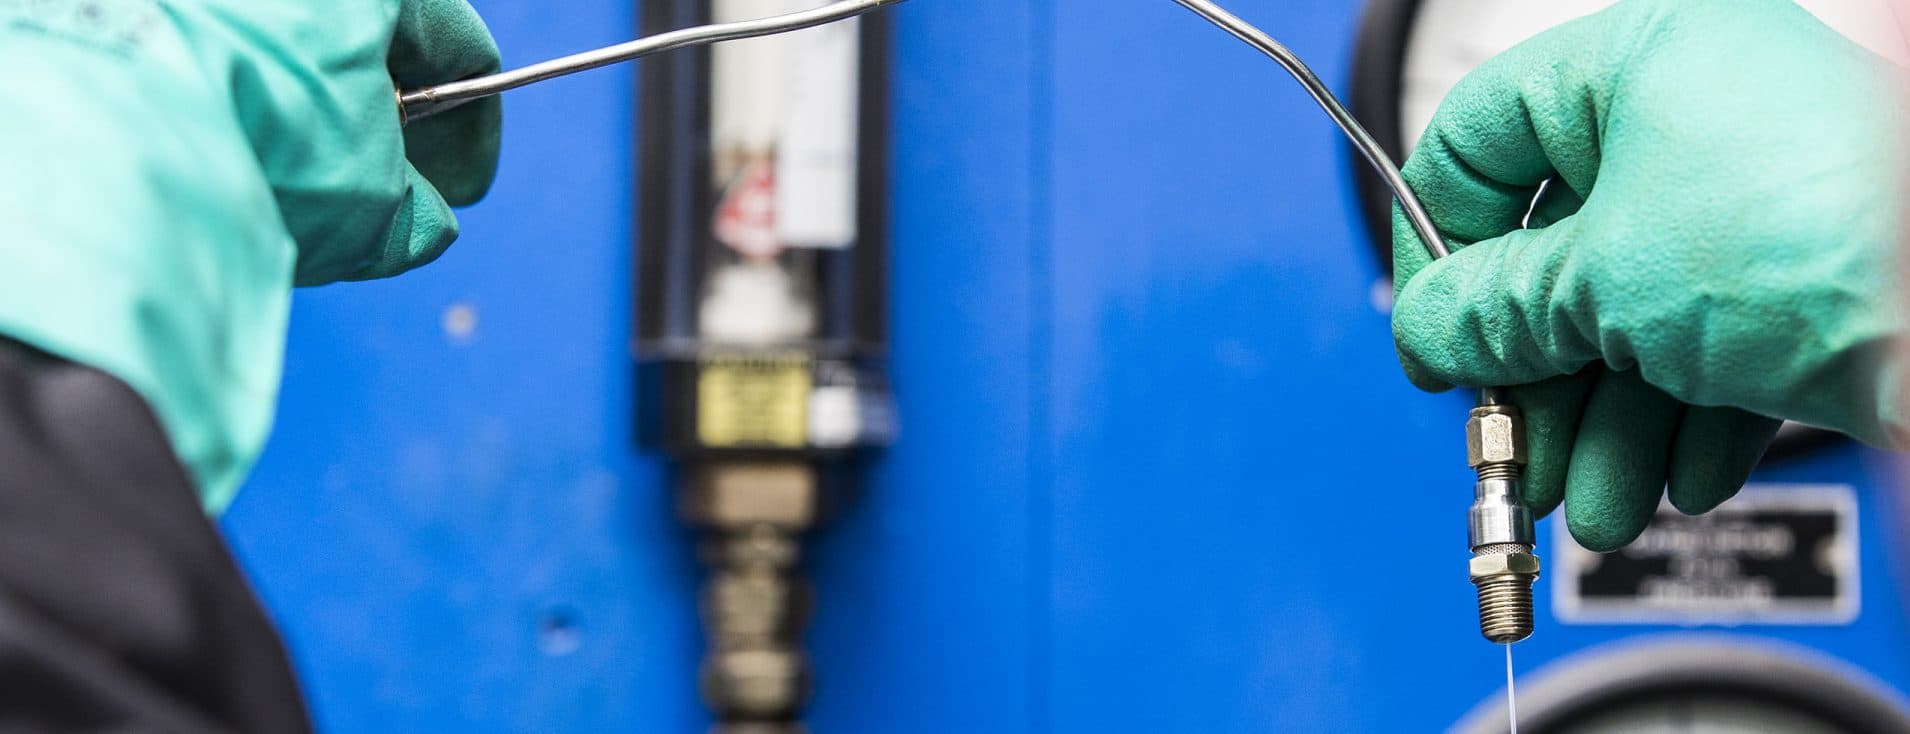
9) Final testing in our new engine test cell
Our new in-house instrumental test cell.
• We run a preliminary “leak test” to ensure the integrity of all new seals.
• The rig is digitally controlled to ensure the integrity of the results.
• We run a 2 hour bedding in test, to the specifications of the relevant OEM
• Our rigorous test procedures measure key parameters including,
Oil pressure
Manifold pressure
Engine temperature levels
All engines tests are performed to ensure the engine is rated to power and performance specifications.
All end test results are included in the final completion documentation supplied with each completed engine.

10) Approval, proud to put our name on your engine.
On the completion of a successful engine test your engine is prepared for return to you.
Each engine goes through its last final inspection, and the work pack is completed.
The final release paperwork is signed by either Chris or Colin, the supervising engineers at Oxford and then, and only then are we proud to put our name on it.
Location coverage
Kennington
Kennington specialises in engine repairs and components for GA and helicopter aircraft, Lycoming and Teleydene Continental engines
Read more